

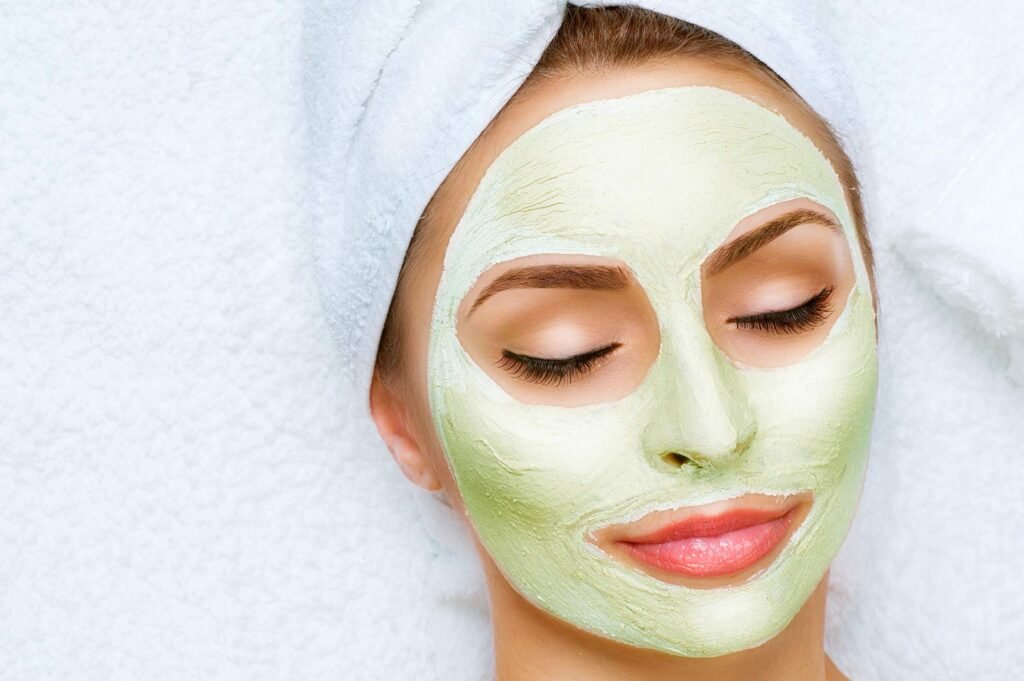
Skin lightening facial is a beauty treatment that aims to reduce the appearance of dark spots, hyperpigmentation, and uneven skin tone. This treatment helps to brighten the skin, giving it a youthful and radiant glow.
Moreover, Skin facials are a great way to improve your complexion and give your skin a radiant glow.
Using natural ingredients in your kitchen, you can give yourself a skin facial at home without spending much money.
Here is everything you need to know about skin-lightening facials: what it does, how long the glow lasts, and how to do it at home with natural ingredients.
Table of Contents
What is Facial?
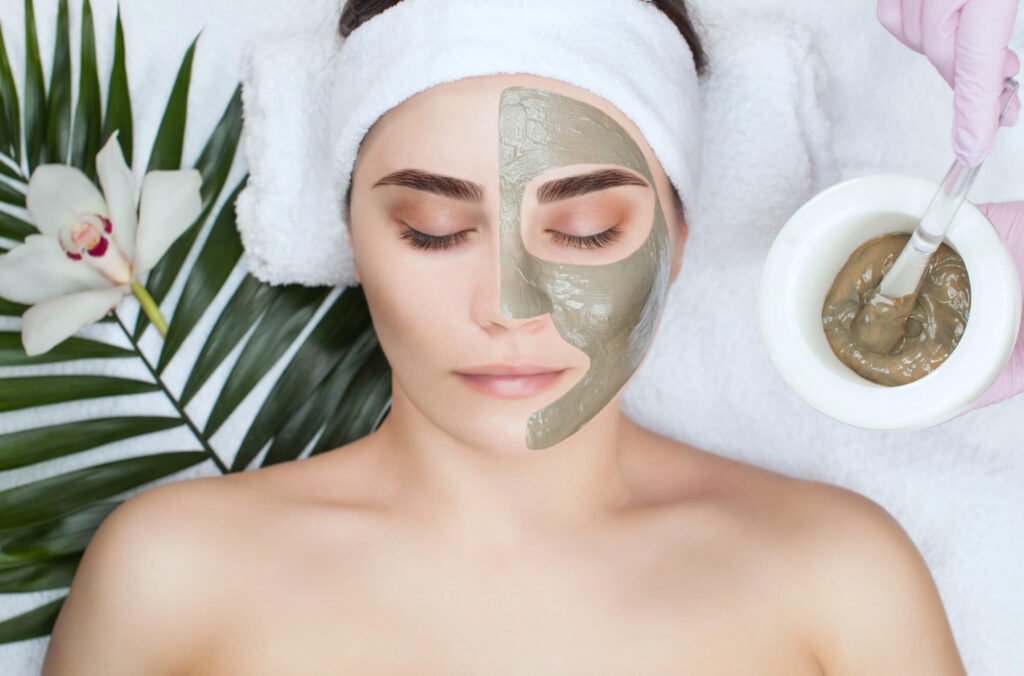
A facial is a non-invasive cosmetic procedure that cleanses, exfoliates, and also moisturizes the skin on your face. A professional facial usually includes a facial massage, which can also help to increase blood circulation and promote relaxation.
Facials can be advantageous for all skin types mostly for individuals with dry, dull, or acne-prone skin. Facial can help hydrate and nourish the skin and reduce the appearance of fine lines, wrinkles, and acne.
Facial can be performed at home. There are different types of facials, but all of them share some common steps.
The Benefits of Treating Your Skin to a Regular Pampering Session of Facial
We all know how important it is to care for our skin, but sometimes it’s hard to find the time or money to go to a salon for a professional facial. Luckily, there are plenty of ways to give yourself a facial at home using natural ingredients!
There are many benefits to giving yourself a facial, including improved circulation, unclogging pores, and reduced inflammation. Facials can also help improve your skin’s overall appearance by giving it a healthy glow.
One of the best things about giving yourself a facial at home is that you can customize it to your skin type and needs.
For example, if you have oily skin, choose an oil-absorbing mask or make your own using ingredients like clay or egg whites. Choose a hydrating mask, moisturizing cream, or oil if you have dry skin.
Although giving yourself a facial at home takes time and effort, it’s well worth its many benefits. Not to mention, it’s a great way to relax and pamper yourself!

How to do skin facials at home with natural ingredients?
Suppose you want to try a skin-lightening facial at home for dry skin. In that case, there are several natural ingredients that you can use to achieve similar results. Here’s a step-by-step following guide to doing a skin-lightening facial at home:
Step 1: Cleanse your face
Start by cleansing your face with a gentle cleanser to remove dirt and impurities from your skin. Warm water opens up your pores and helps your skin absorb the treatment better.
Step 2: Exfoliate your skin
Mix 1 tablespoon baking soda with a few drops of water to form a paste. Gently massage the paste onto your face in circular motions, paying extra attention to areas with dark spots and hyperpigmentation. Rinse off the paste with warm water and pat your face dry.
Step 3: Apply a brightening mask
Mix 1 tablespoon of honey with 1 teaspoon of lemon juice and thus apply the mixture onto your face. Leave the mask on for 15-20 minutes, then rinse off with warm water and pat your face dry.
Honey has antibacterial properties that help to soothe the skin. At the same time, lemon juice contains vitamin C, which brightens the skin and reduces the appearance of dark spots and hyperpigmentation.
Step 4: Moisturize your skin
Apply a moisturizer to your face to hydrate and protect your skin. Look for a moisturizer that contains brightening ingredients, such as vitamin C, niacinamide, or kojic acid, to enhance the results of your skin-lightening facial.
This facial is a great way to lighten your skin naturally. The honey and lemon juice help to brighten your skin, while the yoghurt and baking soda help to exfoliate and cleanse your skin.
DIY Facials at Home for Oily Skin
Are you struggling with oily skin and looking for a natural way to treat it? Moreover, A homemade facial can help you control oil production and achieve a healthy, glowing complexion. Here, we’ll show you how to make a facial at home using gentle and effective ingredients for oily skin.
Step 1: Cleanse your face For Facial
Start by cleansing your face with a gentle, oil-free cleanser to remove dirt and oil from your skin. Warm water opens up your pores and helps your skin absorb the treatment better.
Step 2: Steam your face For Facial
Fill a bowl with hot water and hold your face over the bowl, using a towel to cover your head and create a steam tent. Steam your face for 5-10 minutes to help open up your pores and loosen any dirt and impurities.
Step 3: Exfoliate your skin
Mix 1 tablespoon of oatmeal with a few drops of water to form a paste. Gently massage the paste onto your face in circular motions, paying extra attention to areas with oil buildup. Rinse off the paste with warm water and pat your face dry. Oatmeal is a natural exfoliant that helps to remove dead skin cells and unclog pores.
Step 4: Apply a purifying mask For Facial
Mix 1 tablespoon of bentonite clay with enough water to form a paste. Apply the mixture onto your face and leave it on for 10-15 minutes, then rinse off with warm water and pat your face dry.
Bentonite clay is a natural purifier that helps to absorb excess oil and impurities from your skin.
Step 5: Tone your skin
Apply a toner to your face to help balance your skin’s pH levels and tighten your pores. Look for a toner that contains natural ingredients like witch hazel or tea tree oil, which can help control oil production and prevent breakouts.
Step 6: Moisturize your skin For Facial
Apply a light, oil-free moisturizer to your face to hydrate and protect your skin. Look for a moisturizer that contains natural ingredients like aloe vera or cucumber, which can help to soothe and nourish your skin.
Regularly following these steps can control oil production and achieve a healthy, glowing complexion. Remember to be gentle with your skin and patch-test any new ingredients before applying them to your face. You’ll soon have a smooth, clear, and shine-free complexion with consistent effort.
Homemade Facials for Sensitive Skin: Gentle Ingredients for a Soothing Treatment
If you have sensitive skin, finding the right facial treatment can be challenging. Many commercial products can cause irritation and redness, making your skin feel worse instead of better.
A homemade facial using natural ingredients can be a gentle and effective way to treat your sensitive skin.
However, we’ll show you how to make a facial at home using ingredients that are gentle and soothing for sensitive skin.
Step 1: Cleanse your face
Start by cleansing your face with a gentle, fragrance-free cleanser to remove any dirt and impurities from your skin. Use cool or lukewarm water to avoid irritating your skin.
Step 2: Steam your face
Fill a bowl with hot water and hold your face over the bowl, using a towel to cover your head and create a steam tent. Steam your face for 5-10 minutes to help open up your pores and prepare your skin for the next step.
Step 3: Apply a calming mask
Mix 1 tablespoon of plain yoghurt with 1 teaspoon of honey and apply the mixture onto your face. Leave the mask on for 10-15 minutes, then rinse off with cool water and pat your face dry.
Yoghurt contains lactic acid, which gently exfoliates and brightens the skin, while honey has antibacterial and anti-inflammatory properties that help to soothe and calm the skin.
Step 4: Tone your skin
Apply a toner to your face. Look for a toner that contains natural ingredients like chamomile or aloe vera, which can help to reduce redness and inflammation.
Step 5: Moisturize your skin
Apply a fragrance-free, hypoallergenic moisturizer to your face to hydrate and protect your skin. Look for a moisturizer that contains natural ingredients like oatmeal or shea butter, which can help to soothe and nourish your skin.
Regularly following these steps can keep your sensitive skin healthy, hydrated, and calm. Remember to be gentle with your skin and patch-test any new ingredients before applying them to your face.
With consistent effort, you’ll soon have a smooth, clear, and radiant complexion free from irritation and discomfort.
What does a skin-lightening facial do?
Skin lightening facial helps to reduce the appearance of dark spots and hyperpigmentation, which are caused by an overproduction of melanin in the skin.
This treatment works by exfoliating the skin and removing the dead skin cells that can cause a dull and uneven complexion. It also helps to brighten the skin by promoting cell turnover and increasing collagen production.
Skin-lightening facial treatments typically involve a combination of exfoliation, brightening agents, and moisturizing ingredients.
Components used in skin-lightening Facials
Alpha-hydroxy acids (AHAs) are exfoliating agents that also help to remove dead skin cells and promote cell turnover. Examples of AHAs include glycolic acid, lactic acid, and mandelic acid. Citrus fruits like lemons, oranges, and grapefruits are rich in natural AHAs like citric and glycolic acid. These acids can help to exfoliate the skin, unclog pores, and brighten the complexion.
Vitamin C: This antioxidant helps to brighten the skin and reduce the appearance of dark spots and hyperpigmentation. Strawberries and Kiwi are tropical fruits loaded with vitamin C, which can help boost collagen production and brighten the skin.
Kojic acid: This natural ingredient helps lighten the skin and reduce melanin production. Kojic acid is also naturally found in fermented rice, particularly in Japanese sake.
Soy sauce is another fermented food that contains kojic acid. You can use soy sauce as a natural toner or add it to your DIY facial masks.
Niacinamide: This ingredient helps to improve the skin’s texture and tone and reduces the appearance of dark spots and hyperpigmentation.
Avocado is a nutrient-dense fruit that is rich in niacinamide as well as other vitamins and minerals that can benefit the skin. You can use mashed avocado as a natural facial mask or add it to your DIY skincare products.
Tomatoes are rich in niacinamide as well as antioxidants that can help to protect the skin from free radicals and environmental stressors. You can use fresh tomato juice as a natural toner or add it to your DIY facial masks.
Retinoids: These ingredients help to increase cell turnover and reduce the appearance of fine lines and wrinkles. Rosehip oil is a natural oil that contains retinoids and can be used as a moisturizer.
How long does facial glow last?
The duration of the skincare glow after a skin-lightening facial treatment depends on several factors, including your skin type, the products used during the treatment, and your skincare routine.
Typically, the glow from a skin-lightening facial can last anywhere from a few days to a few weeks. However, following a consistent skincare routine that includes regular exfoliation, brightening agents, and moisturization is essential to maintain skincare results.
Conclusion:
Having a skin facial at home is a great way to save money and get the same results as you would from a salon. There are many facial recipes that you can make with natural ingredients that will leave your skin feeling soft, smooth, and refreshed. By using items already in your kitchen, you can create a facial tailored to your skin type and needs.


